

This year we’re doing a Sew-Along! If you’d like to sew along with us and get more details about the project, check them out here.
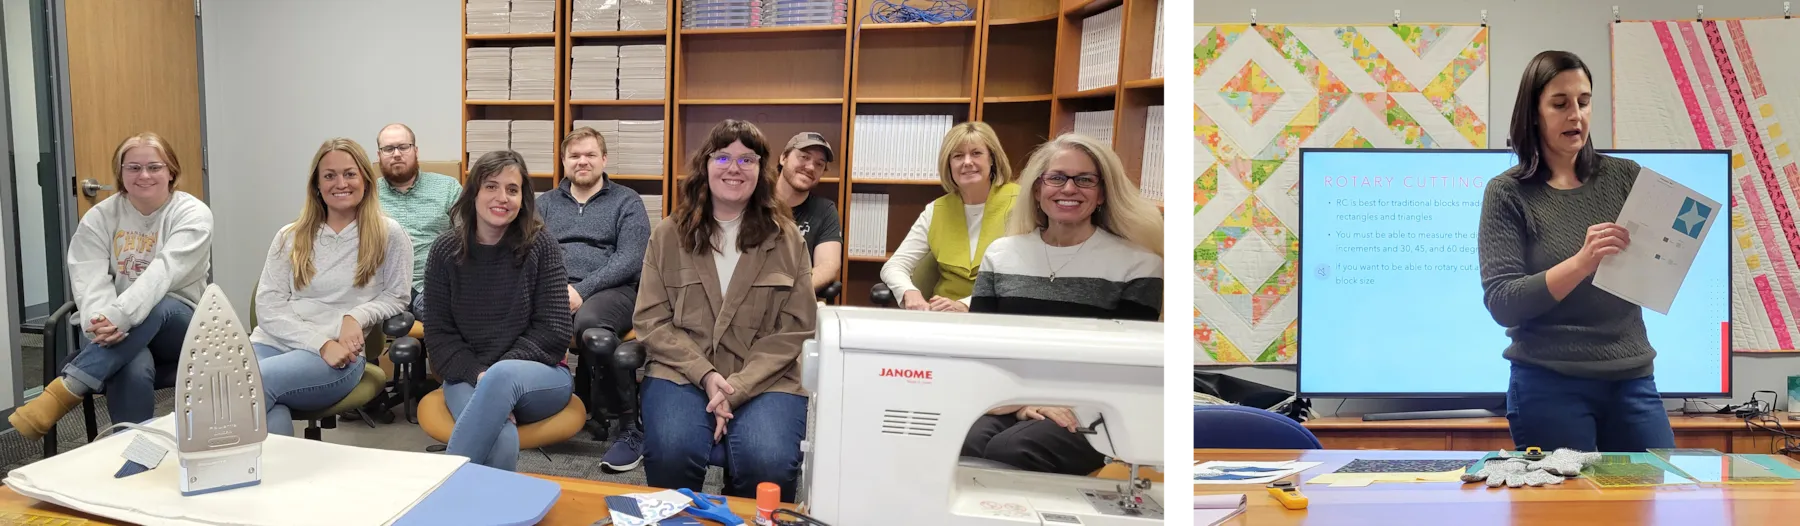
One reason we decided to do the sew-along was to make sure everyone on staff knows how to quilt (since we’ve hired some new people recently). But, we also thought it’d be fun to post about so you can get to know us a little better! Each month, we’ll feature one staff member and their block in the quilt.

This month we’re featuring Sara!
Sara started working for EQ as a graphic design intern in 2003, then moved to full-time in May of 2004. So, quick (and easy) math puts her at 20 years! In those 20 years she’s gone from intern to Director of Business Operations which means she handles a lot of the “business” duties of the company, including HR-type responsibilities. Additionally, Sara is also part of the Product Development team. With a graphic design background, her role is mostly UX/UI (user experience and user interface) but she also writes a lot of feature-request reports (based on user feedback), creates many mockups, designs the tool graphics, and the overall look of the interface.
Sara has been here a long time but at first she didn’t really understand the whole quilting software thing! She says, “Prior to applying for the internship, my friend Kevin, who worked at EQ at the time, was telling me about the company. I did not understand it. It took me a bit even after I worked here for a couple months to really understand the importance of what EQ software offers to quilters. When I went to my first trade show in Peoria, IL , I heard so many comments of adulation from quilters about our software and how they couldn’t create their quilts without it. Quilters would come to our booth wanting to meet Dean, the programmer, and thank him for “changing their life!” That’s when I realized that quilting is bigger than I ever thought it was. For some it’s a hobby, for some it’s a profession, for others it’s who they are. They are quilters!“
Sara says she likes working at Electric Quilt because, “Electric Quilt is, and always has been, such a great company to work for. Our staff is our number one priority. If our staff is not happy, our customers won’t be happy. And we have such a wonderful staff! Each and every person brings something great to our overall goal. We have lots of young talent. I like working here because our owners (Dean Neumann, Penny McMorris, and Ann Rutter) have built such a great foundation for this company that they have been able to put full trust in us to keep it going.“
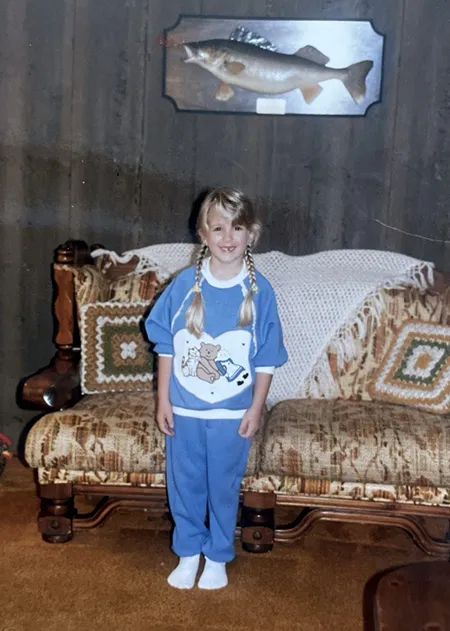
Sara hadn’t sewn much before starting at EQ. She says, “My mom used to have her own sweatshirt company in the ’80s. She had bolts and bolts of fabric and would sew applique characters on the fronts of the shirts. (I got to be the model, lol.)
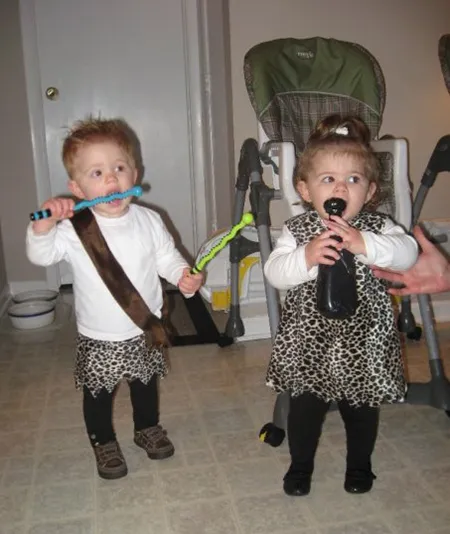
I was always so impressed with her abilities. She could sew anything – our clothes, Halloween costumes, etc., so I picked up some basic skills from her. I made my twins’ Halloween costumes once. They were Bam Bam and Pebbles.
This is my first quilt! I was super proud of the quilt top but got frustrated with the rest of it. I struggled through the binding, then once I handed it off to my new baby niece, I realized I never quilted it! So, 3 layers connected by binding alone. Yikes!
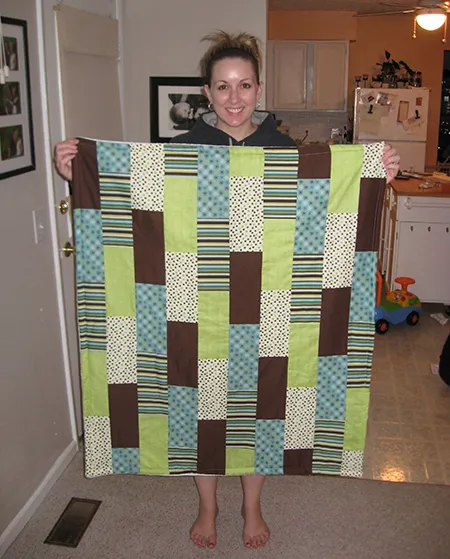
It really made me appreciate the talent, skill, and artistry that goes into quilting.“
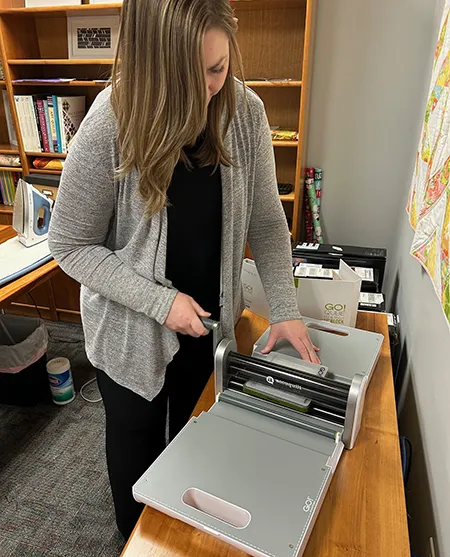
Sara sewed the Clay’s Choice block. She printed the rotary cutting chart and used the AccuQuilt Go! Qubes to cut the shapes. Sara says, “Let me just say that if you haven’t used an AccuQuilt Go! cutter, you are missing out! (This isn’t an ad, by the way!) Our friend, Lori Miller, is the EQ/AccuQuilt guru and she is always telling us how easy it is to use our software with AccuQuilt Go! Qubes. Now I believe it! Jenny, our sewing guide for this sew along, helped me read the rotary cutting charts and figure out what size to cut my fabric for the Go! Qubes. So simple! And my shapes were cut to perfection! I think, had I cut the fabric myself using EQ’s templates, they wouldn’t have been as perfect and my seams would have been misaligned. (Nothing against EQ’s templates… just my cutting skills!)“
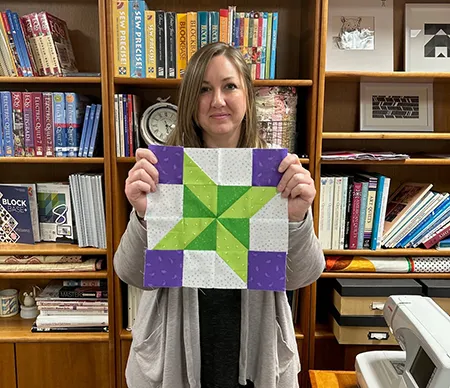
Sara’s block turned out great!
Every month we’re also asking a random icebreaker question, just for fun. Sara’s question was, What was your first job and what did you like and dislike about it?

“My first job was working at a dental office in the summers during high school. My mom was the office manager there. My job was to assist the hygienists by cleaning their rooms between patients, sterilizing instruments, keeping their rooms stocked, developing x-rays, and just being available whenever they needed help. I liked that I got experience in the industry and that I got exposed to that kind of atmosphere. I really had no interest in being in the dental field or any sort of medical field. It truly was just an easy summer job to make money. I was very fortunate to get the opportunity because of my mom. By working there (for multiple summers), it helped me realize that it wasn’t the path for me. This job showed me discipline, responsibility, and accountability. What I didn’t like about it is when one of the newer hygienists thought that I was an intern and that I DID have interest in the field. She had me assist her with a patient who needed a lot of work. While I didn’t do any of the actual work, I was way closer to the stranger’s mouth than I ever wanted to be!”
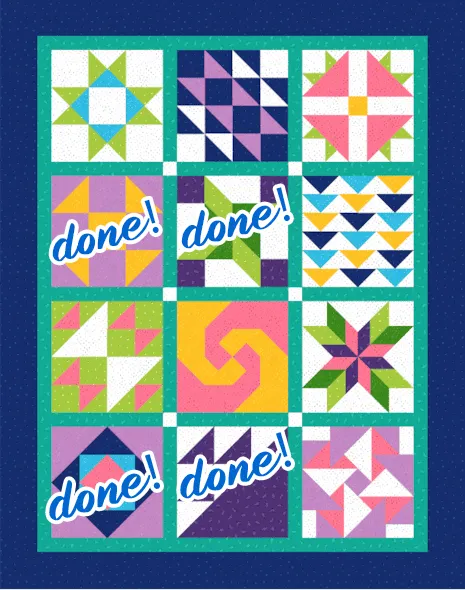
So that’s four blocks, four months, and four employees done!
Stay tuned for our next post on May 15th. We’ll feature another staff member and block!


